Common mistakes to avoid when using pimple patches
Seen all the 5-star reviews, but not getting the results you're hoping for when using pimples patches? Read on to find out if you're making these common mistakes (we did them too!) and get the best out of Cloud Patch and Moon Patch.
☁️
MISTAKE No1 – NOT APPLYING THE PIMPLE PATCH TO CLEAN, DRY SKIN
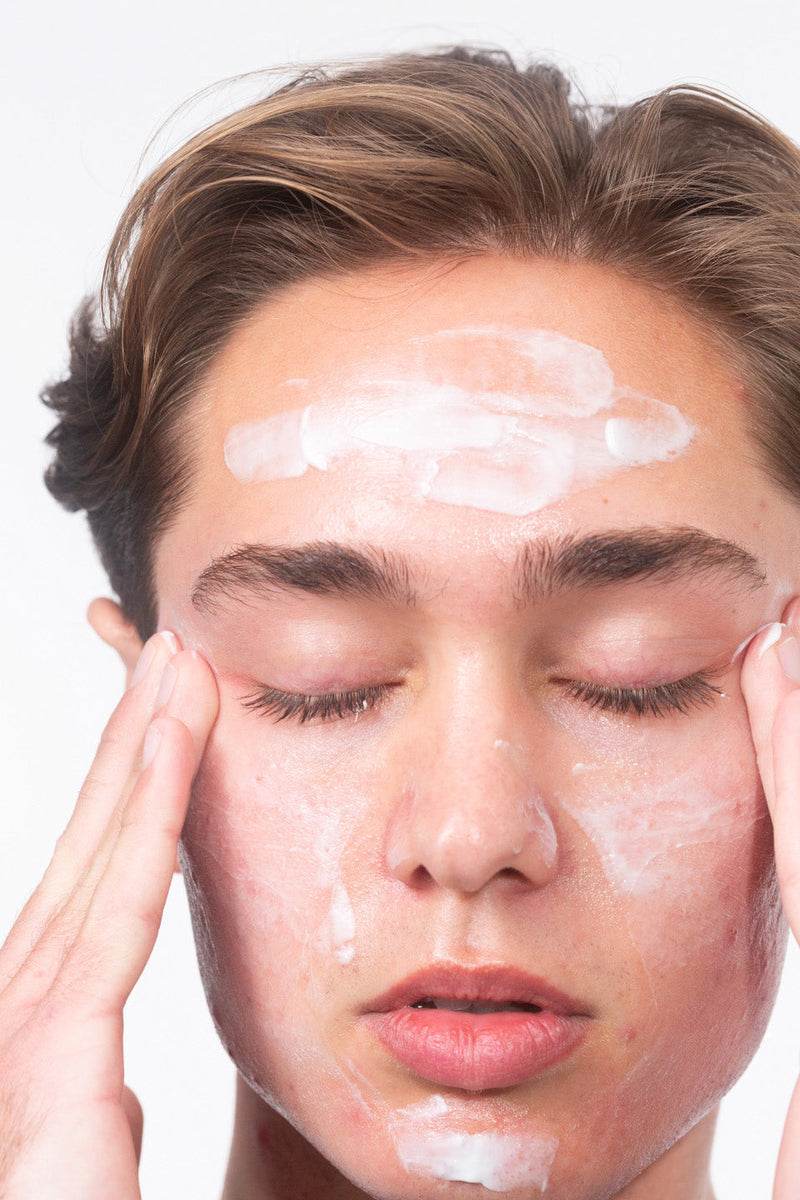
The pimple patch should always be applied directly onto clean, dry skin. This way, nothing sits in the way when the Cloud Patch or Moon Patch start absorbing excess fluid and gunk, which will help to speed up the healing process.
DO:
Make sure to cleanse your face with a gentle, oil-free cleanser to remove excess sebum, residue sunscreen and makeup. Cloud Wash is the ideal gel cleanser to prepare the perfect canvas for your pimple patch.
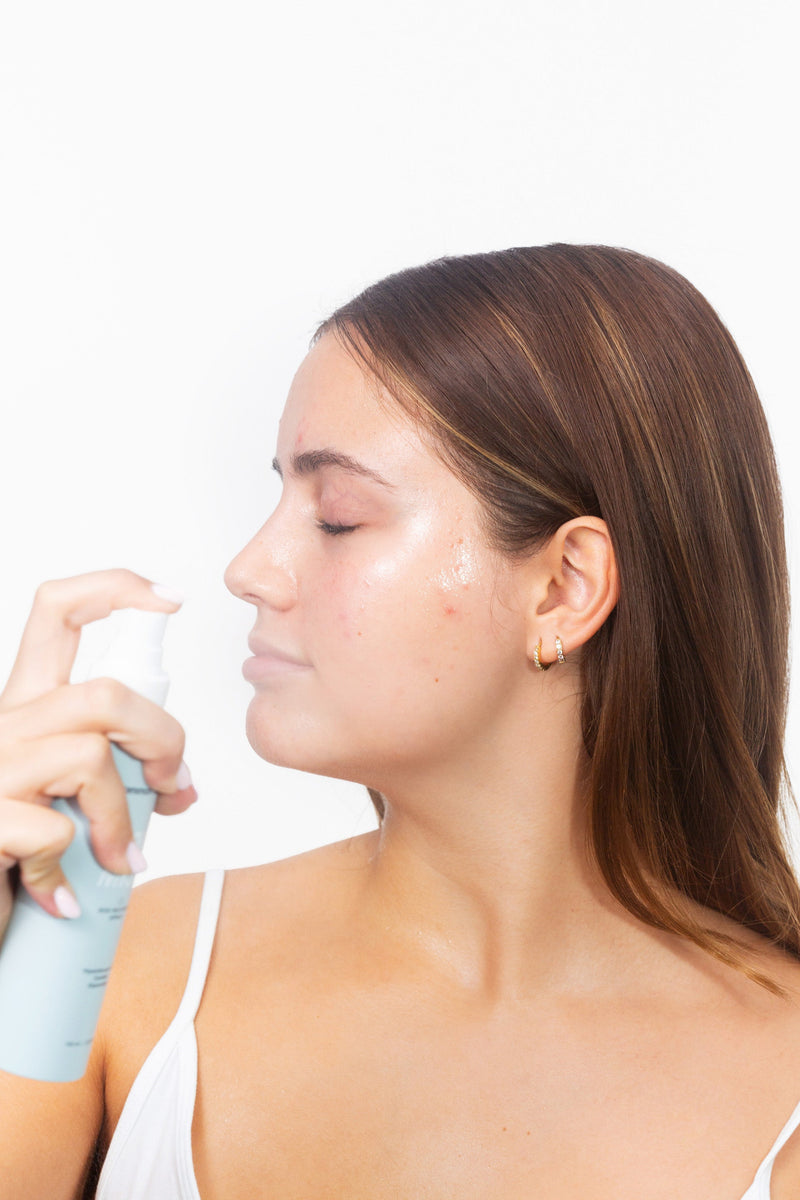
Our gentle exfoliating BHA toner Cloud Water is the second prep step to really set the stage for your pimple patch. Use it after cleansing to unclog pores and gently exfoliate skin. It doesn't leave an oily residue, so you can use Cloud Patch or Moon Patch on top.
And make sure to have clean, freshly washed hands to avoid getting anyt bacteria into the inflamed area. If you have very long nails, we recommend applying and removing your pimple patch with tweezers.
☁️
MISTAKE Nº2 – APPLYING THE PIMPLE PATCH AT THE WRONG STEP
If you apply your pimple patch on top off skincare products or makeup, any oil in the products might cause your patch to fall off.
DO:
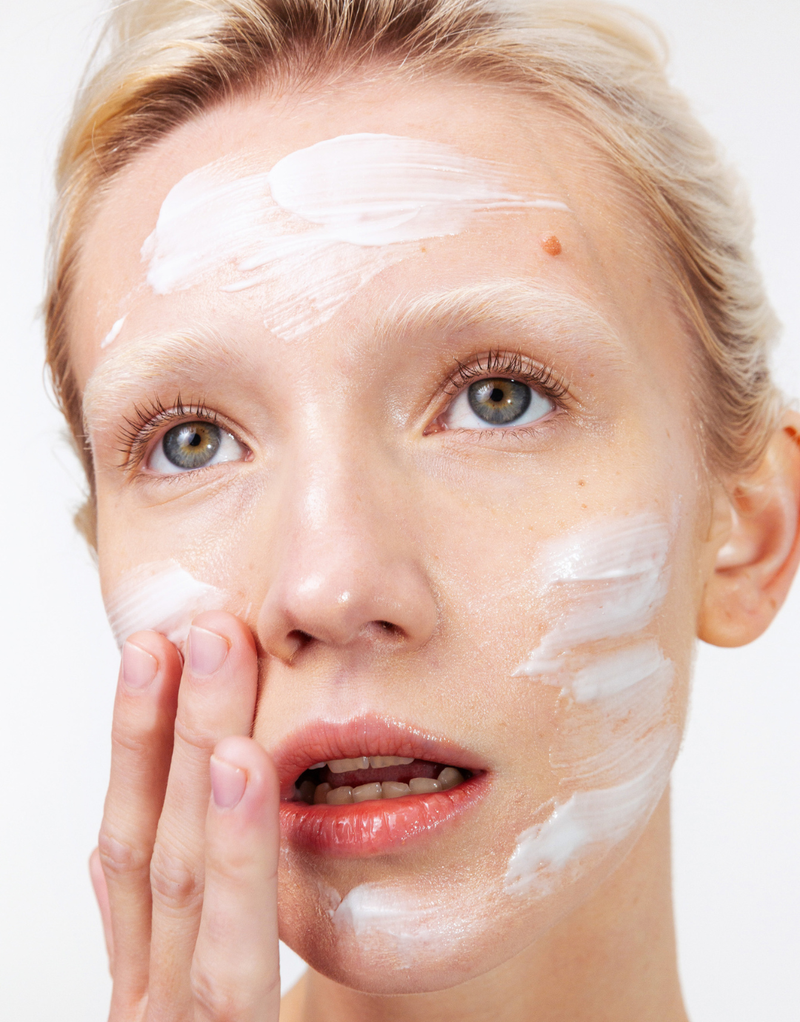
Ideally, apply your pimple patch after cleansing (and toning with Cloud Water), but before doing the rest of your skincare routine, to maximise the patch adhesion. This also maximises the results you'll get from your pimple patch (you want it to absorb pimple gunk – not your precious skincare).
However, you CAN also add you pimple patch at a later step in your routine if that feels more natural, but clean the pimple area with a Q-tip to remove any excess oil that can cause your patch to slip.
☁️
MISTAKE Nº3 – APPLYING A PIMPLE PATCH ON THE WRONG TYPE OF PIMPLE
Got cystic acne, and find that your pimple patch isn't doing much? Applying your pimple patch on under-the-surface, still-brewing pimples, will protect skin from picking fingers (which is a great thing to prevent inflammation and scaring!), but if there’s no gunk you won’t see the dramatic results that you get on whiteheads.
DO:
Are you a spot picker? You'll get the lovely benefits of the pimple patch protecting your skin even if you have a under-the-surface, cystic pimple that hasn't yet bloomed into a pus-filled whitehead, but you should limit your expectations.
If you have cystic acne, you should include a BHA-toner, like our viral Cloud Water, with salicylic scid at least 2-3 times per week to speed up cell turnover and dissolve acne-causing excess oil and dead skin cells in the pores. BHA = Best Hero (for) Acne!

☁️
MISTAKE Nº4 – LEAVING THE PATCH ON FOR TOO SHORT, OR TOO LONG
The hydrocolloid in our pimple patches Cloud Patch and Moon Patch needs at least 6 hours to work. Shorter than that, and you'll probably miss out on the satisfaction off removing a gunk-filled patch (one of the small wonders of life!).
However, you shall not let it sit too long either. The pimple patch should be removed when the it has turned opaque. Don’t let it sit more than an absolute maximum of 24 hours – but of course you wouldn’t since you’re one of those people cleansing daily ;)
However, you shall not let it sit too long either. The pimple patch should be removed when the it has turned opaque. Don’t let it sit more than an absolute maximum of 24 hours – but of course you wouldn’t since you’re one of those people cleansing daily ;)
DO:
Let your pimple patch work for at least 8 hours or overnight, and remove it when it has turned opaque (AKA sucked all that lovely gunk from your pimple). And of course, make a habit out of cleansing your skin every morning and night, and start with fresh pimple patches after every wash (or after Cloud Water on exfoliation days).
☁️
MISTAKE Nº5 – CHOOSING THE WRONG PIMPLE PATCH
Got an XL pimple the size of Mount Everest, and find that Cloud Patch doesn't even cover half of it? As tempting as it might be to use many patches to cover the whole pimple, we have a better solution (that will save you money too!).
DO:
Use Cloud Patch on smaller, individual pimples (you get two sizes in every pach – S and L), and Moon Patch XL pimple patch on those XL breakouts or clusters of pimples. With the Dream Duo, you have patches to cover any pimple situation – from the tiny ones to the mega-outbreaks. Both are made from our signature blend of vegan hydrocollid and centella.

READ MORE
This is why you should never pop a pimple (according to our Derm!)
Will chocolate give you pimples? Some common acne myths debunked here!